Written by Philipp on 2026-04-18
Running gokrazy on a Banana Pi BPI-R1
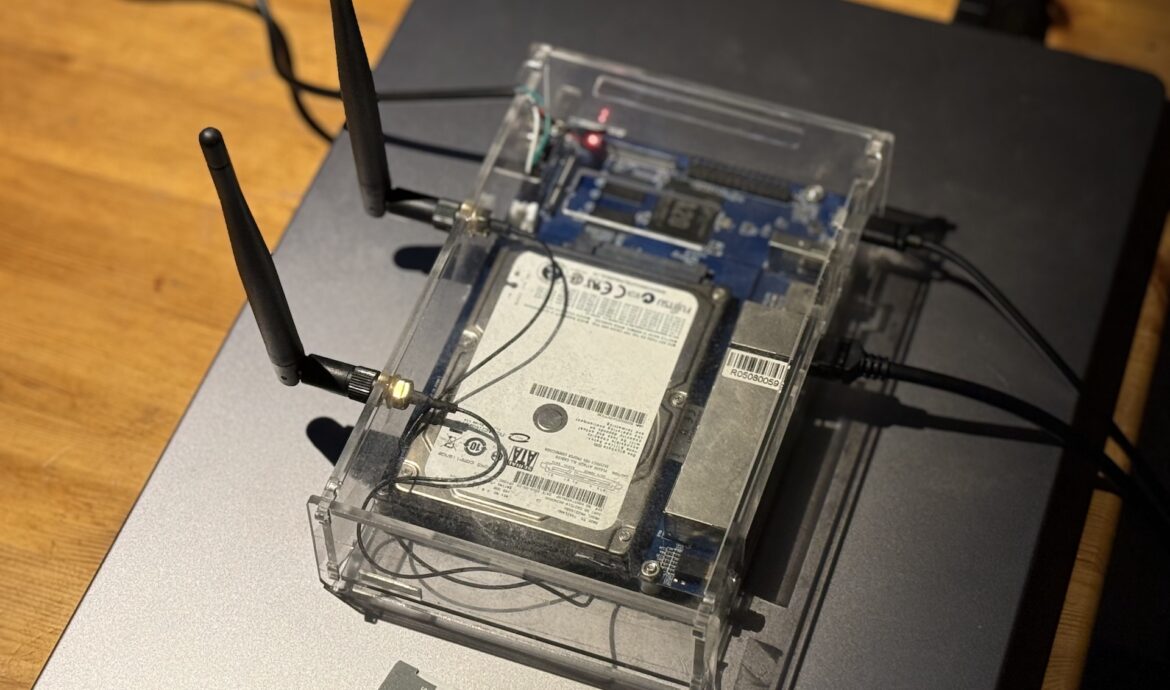
CLI . Go . Hacking . TestingMotivation I had a BPI-R1 sitting in a drawer. The board is from 2014 — only ancient OpenWrt and outdated Armbian images exist for it. Nobody maintains this platform anymore. The hardware is fine though: dual-core Allwinner A20, 1GB RAM, SATA, and a BCM53125 5-port Gigabit switch on the board. Not bad for a dedicated
Written by Philipp on 2023-11-20
Fixing Issues after upgrading Proxmox 7 to 8
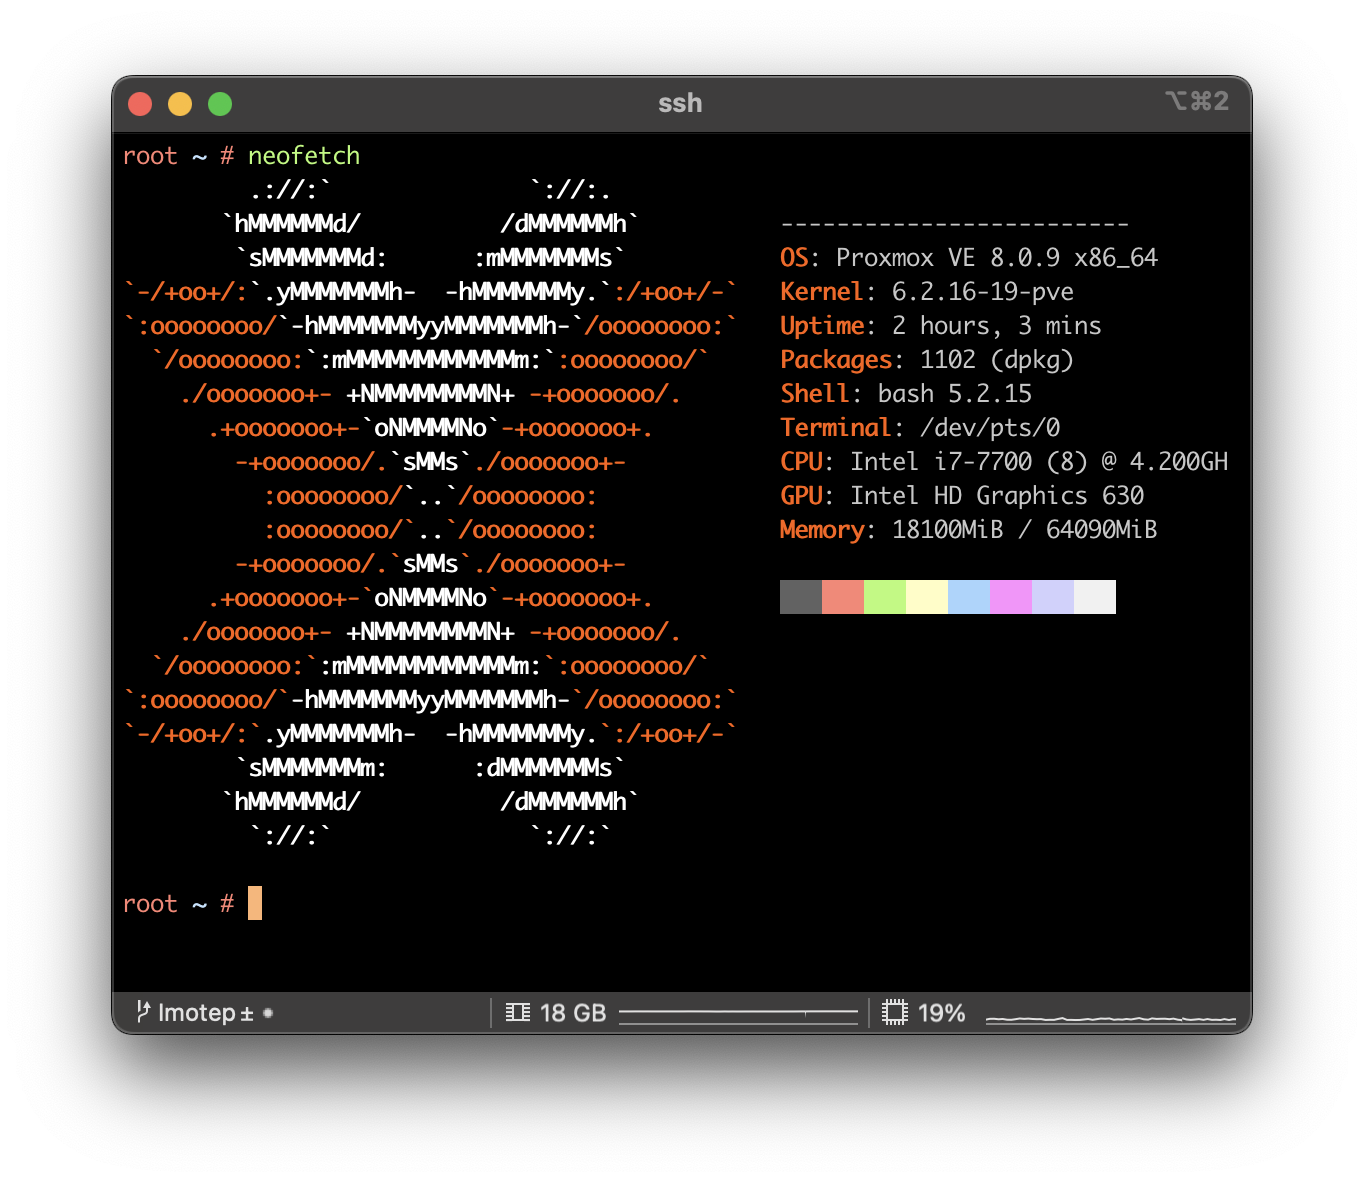
CLI . Network . ProxmoxMy initial plan was to update all of my Proxmox nodes to the latest version by the end of this year. While most updates proceeded smoothly, I encountered two errors on one particular node. Given that updating servers is a critical operation, especially when they are only remotely accessible via the network, I decided to
Written by Philipp on 2020-04-26
Fixing nix Setup on MacOS Catalina
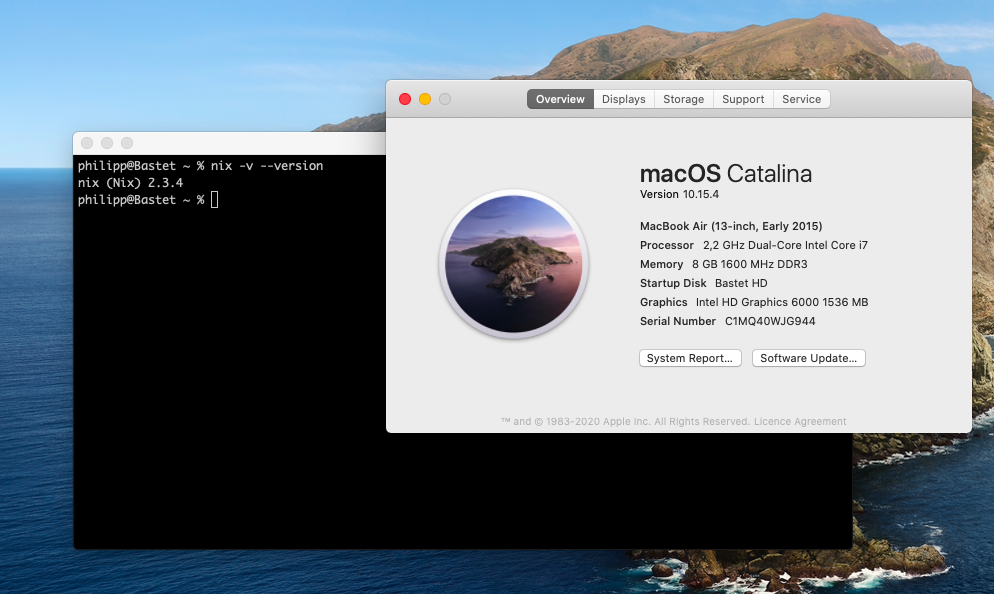
Bash . CLI . Mac . PersonalWith MacOS Catalina (10.15), Apple decided to decrease the possibilities of system users to install software applications within the system. That means, that it is not possible anymore to install software at specific location in your system, since most system folder ware mounted read-only at boot to improve the overall system security. That leads to

Written by Philipp on 2007-11-17
Software Update von MacOs via Bash
CLI . Mac . ToolingNaja nach dem Update von MacOS auf Version 10.5.1 wollte mein Mac mini sich nicht mehr remote steuern lassen. Da ich momenten keinen Monitor für meinen kleinen Mac habe, musst ich wohl oder übel das notwendige Update per SSH ausspielen.Ich fand bei http://instant-thinking.de eine Lösung: horus:~ philipp$ softwareupdate -l Damit erhalte ich eine Liste mit