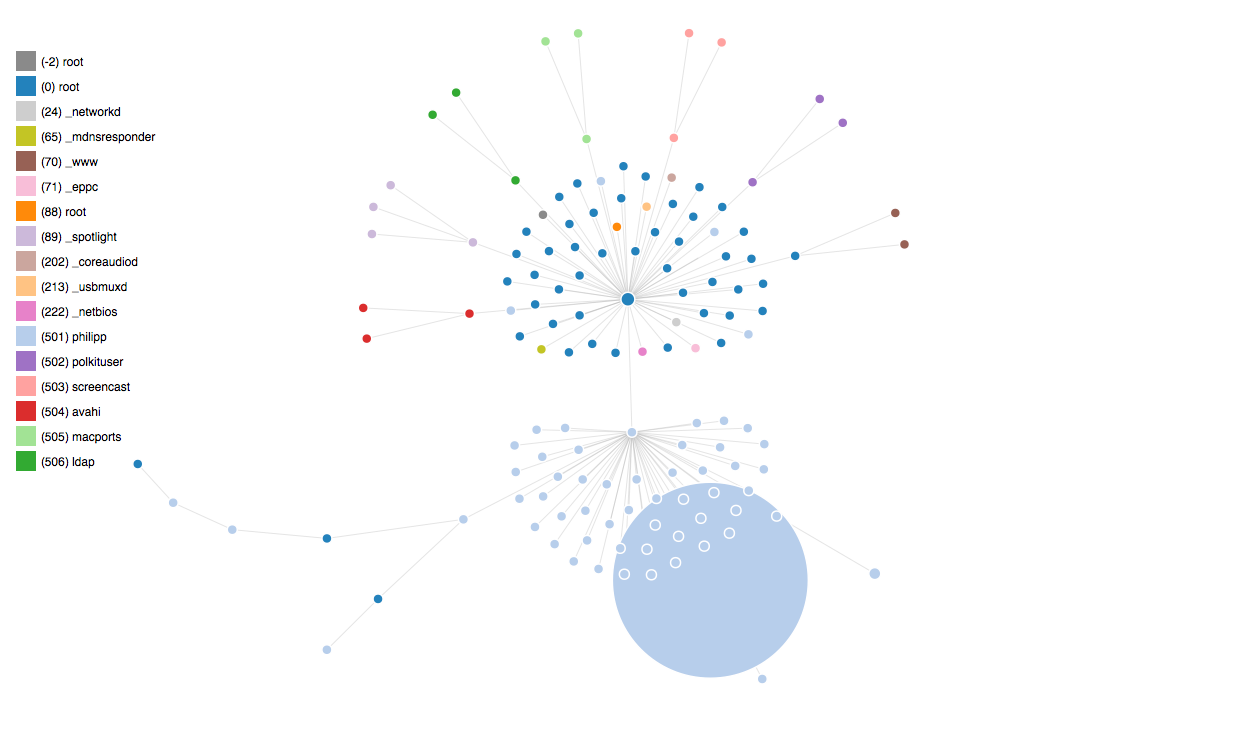
Written by Philipp on 2013-09-09
Plotting UNIX Processes with D3
Graphics . JavascriptI created another Plot, using D3js: You can find all Scripts here. I am still have to figure out how to do graph updates and add label to the nodes.
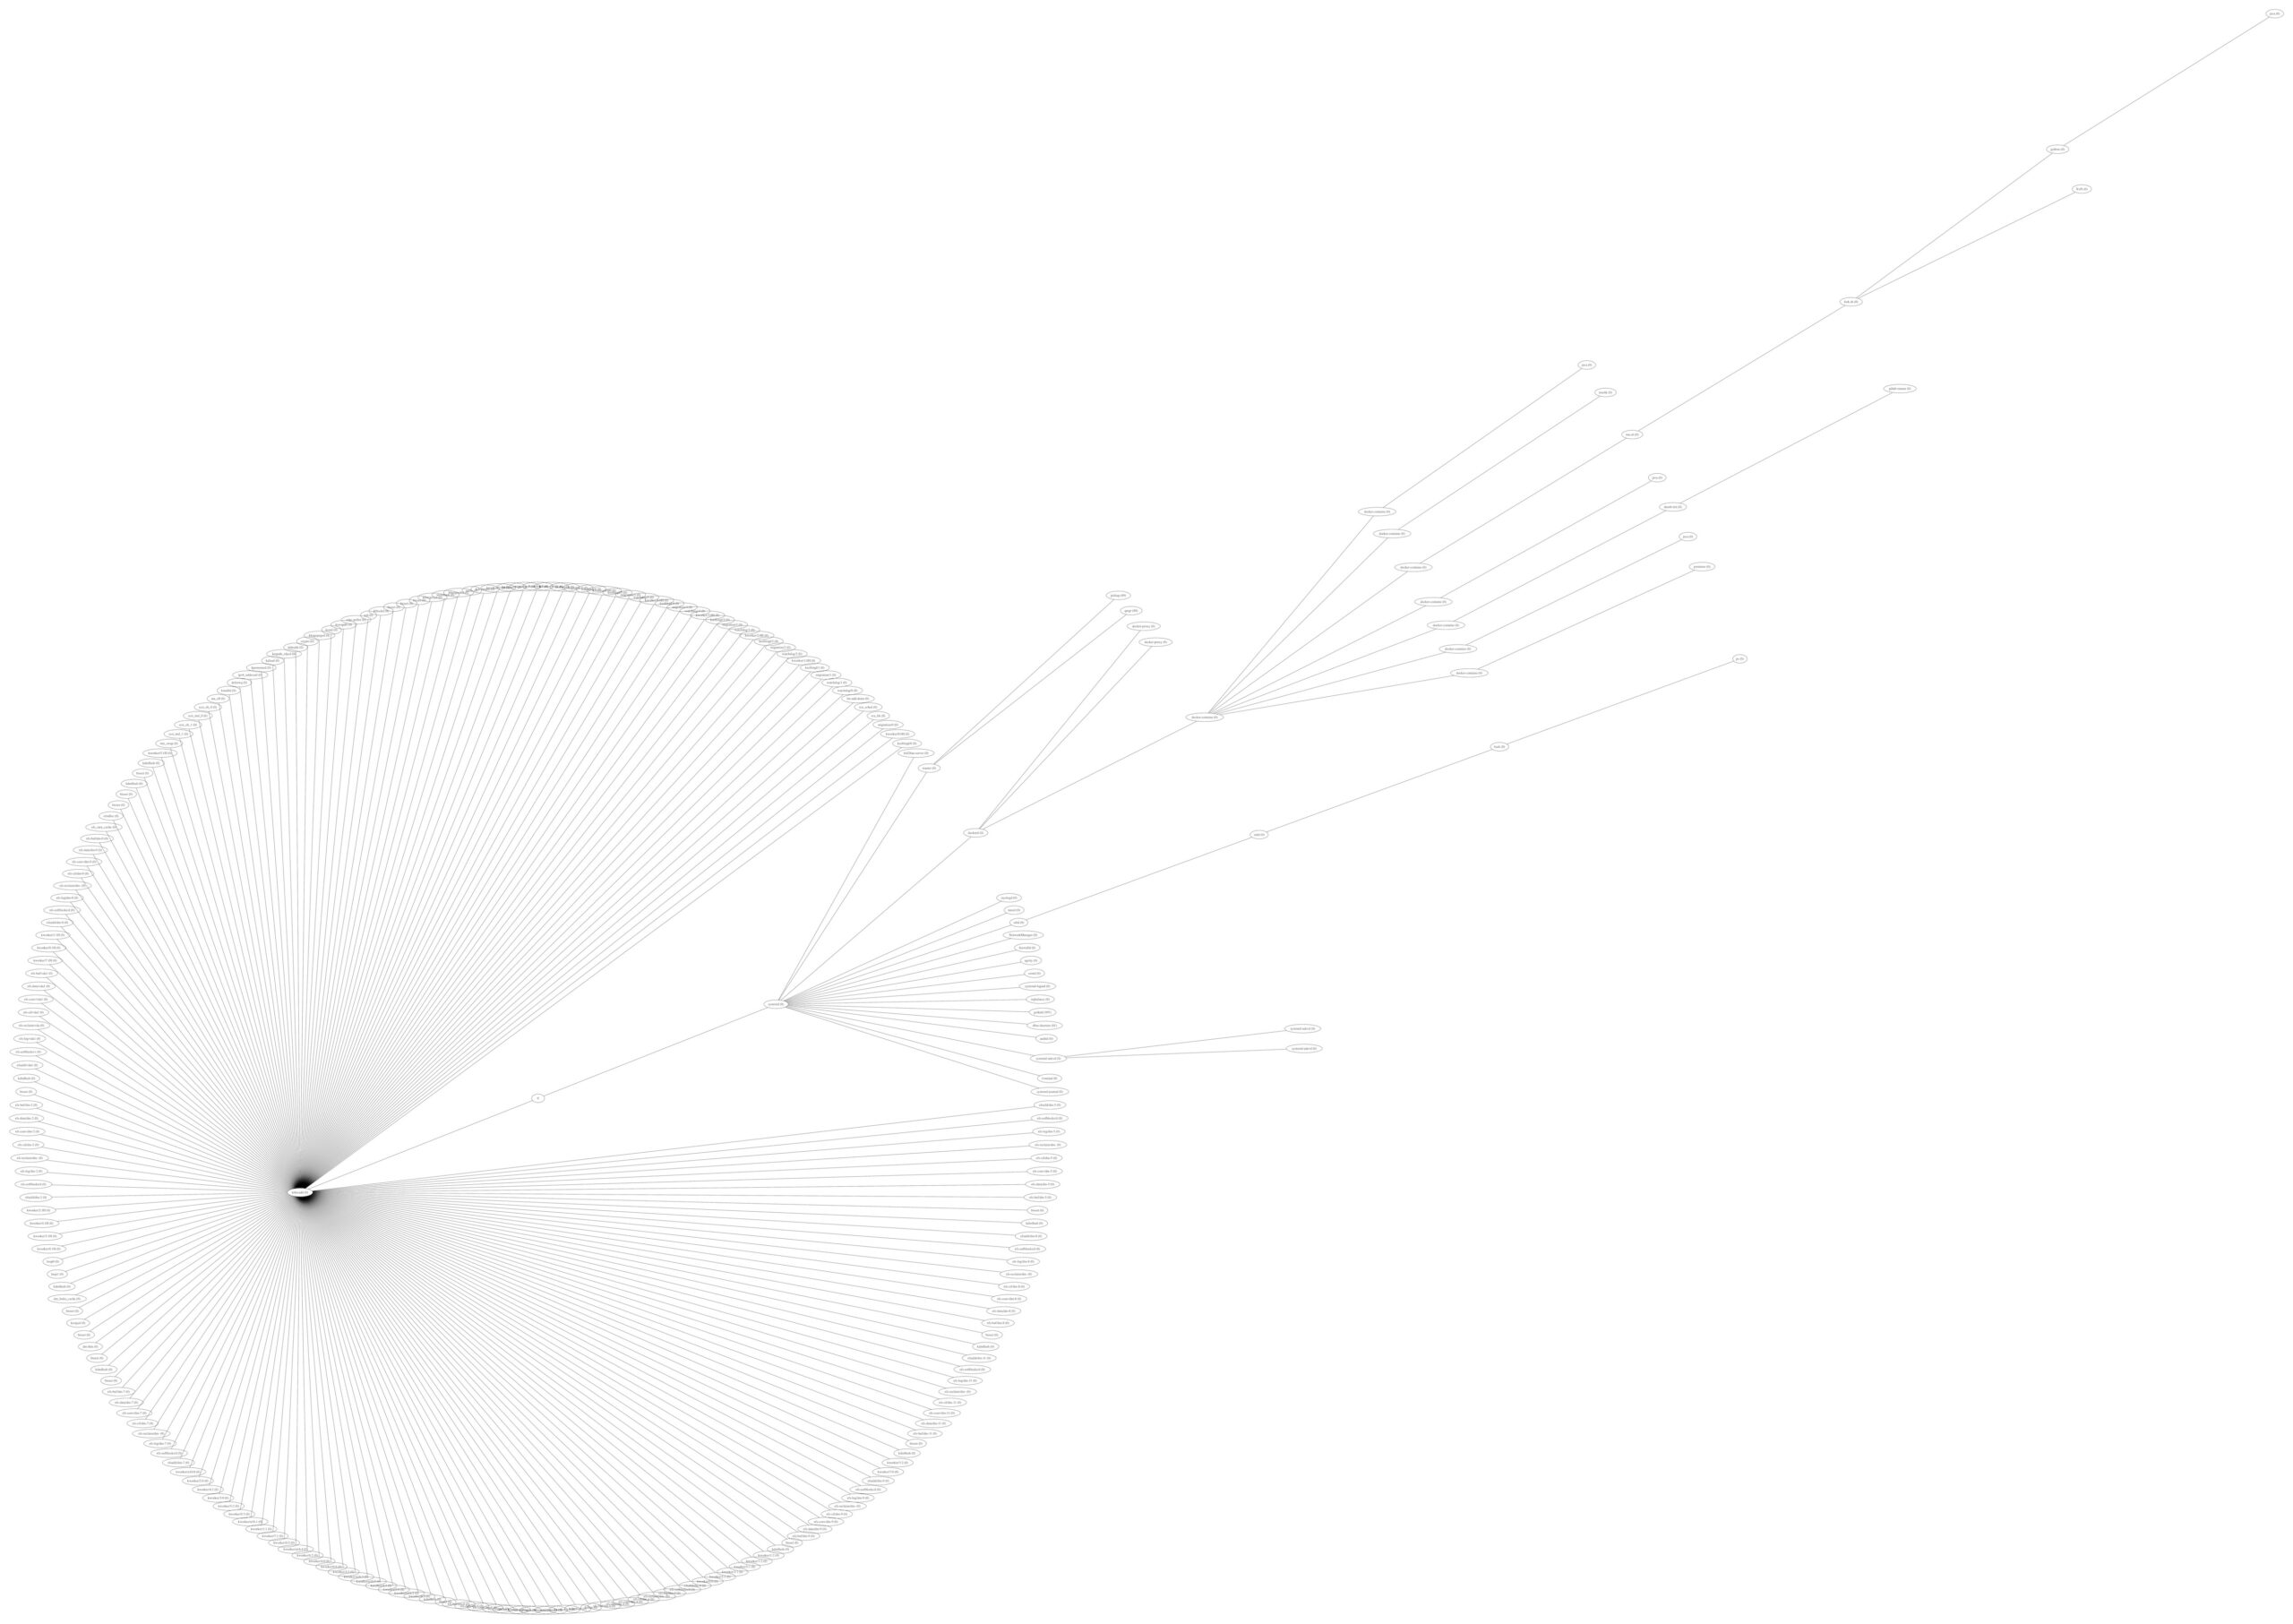
Written by Philipp on 2013-09-03
Plotting UNIX Processes with DOT
Graphics . Javascript . ToolingInspired by this Post this post, I started playing around with ps, nodejs and GraphViz. After reading some ps man Pages, i found the necessary ps parameters. For MacOS i used ps -A -c -o pid,ppid,pcpu,comm,uid -r For Linux i used ps -A -o pid,ppid,pcpu,comm,uid You then get some Output like: PID PPID %CPU COMMAND
Written by Philipp on 2012-05-12
Hacking just for Fun: using Bookmarklets
Hacking . Javascript . Play! Framework . SnippetsSo there are a handful of webtools using Bookmarklets for their services. The first i know was del.icio.us for saving a Webpage to your del.icio.us bookmarks. Another famous service is Instapaper (it uses internally read it later pocket, but that is another Story). I have a special service in mind, i want to create using
Written by Philipp on 2011-01-22
Using UIAutomation for Multilanguage iOS Applications
iOS . Javascript . TestingWith the appearance of iOS 4.0 Apple introduced a new Test-Framework for automatically UI Testing: UI Automation. Based on Javascript and build-in into Instruments, UI Automation is a very useful tool during the Developing of iOS Application. A very good introduction in UIAutomation is here and here. During the development of a iOS Application, we
Written by Philipp on 2010-08-15
Philipps 5 mins: Graph-Fun with AJAX and Canvas
Graphics . Javascript . PHPI always searched for an efficient way add dynamic diagrams to a web-project without using flash or other plugin-based magic. With the support of the canvas tag element in almost all mainstream browser, i thought it would be a good time for creating a short demo how things workout. You will need at least two
Written by Philipp on 2008-05-10
Splines mit dem HTML Canvas Tag
Graphics . JavascriptSplines innerhalb eines Canvas Tags sind mit ein wenig Javascript recht schnell machbar! (drumherum dann noch den ganzen HTML-Kram denken): <canvas width=”150″ height=”150″ id=”myCanvas1″></canvas> <script type=”text/javascript”> function draw1(){ var myCanvas1 = document.getElementById(‘myCanvas1′); myCanvas1.style.border = “1px black dashed”; var ctx = myCanvas1.getContext(’2d’); ctx.beginPath(); ctx.strokeStyle = “#dedede”; for (i=1;i<15;i++){ ctx.moveTo(i10,0); ctx.lineTo(i10,150); } for(j=1;j<15;j++){ ctx.moveTo(0,j10); ctx.lineTo(150,j10); } ctx.stroke();
Written by Philipp on 2008-01-19
1. GUI und die Sicherheit
Java . Javascript . UIDie letzte Zeit habe ich mehr mit Schreiben verbracht. Nachdem ein JavaScript-Unterbau soweit lauffähig ist, habe ich angefangen, meine GUI-Skizzen soweit wie möglich einzubauen: Ich bin dazu übergangen, anstatt statischen HTML-Code als String zusammen zu bauen (was eh langsam ist), alle Inhalte aus DOM Objekte zusammen zu setzen. Das hat den großen Vorteil, dass ich
Written by Philipp on 2008-01-14
JavaScript DOM Object Parser
JavascriptIch sitze grade mitten drin, meine XML Ausgaben zu zerlegen um an die Daten zu kommen. Da das teilweise wirklich unübersichtlich wird, habe ich mir zweit Stunden Zeit genommen und mir einen Parser geschrieben, der mir ein beliebiges DOM Objekt als Baum ausgibt. Aus dieser XML Struktur: baut er mir zum Beispiel das hier: Um
Written by Philipp on 2008-01-08
Die Nebenläufigkeit
Javascript . UIIch sitze nun schon seit einiger Zeit an meinem Client und bin dabei, die Funktionalität soweit zu verwirklichen, dass ein einfaches Arbeiten (CRUD), mit jeweils User, Task und Group möglich ist. Ich habe bemerkt, dass die Oberfläche die wenigsten Probleme macht, was eine Herausforderung ist, sind die vielen nebenläufigen Request-Abfragen. Ich habe (hatte) mich dazu
Written by Philipp on 2007-12-31
Zum Jahresende
Javascript . PersonalMoin… bevor das Jahr zu Ende geht, und es so scheint, als würde ich nichts tun: Ich bin momentan dabei nach Patchwork Manie meine Texte zusammen zu schreiben – denke aber, dass ich da mal ein paar Tage konzentriert dran sitzen sollte, um mal eine Grundstruktur zu finden. Weiterhin bin ich momentan dabei, mir einen