
Team Setups in Larger Projects: Delivering Across Team Boundaries
PersonalModern features no longer fit into a single team. That has become normal. An IoT device sends events. An MQTT service forwards them. A mobile app displays them. Add deployment on AWS, a database schema, push notifications, UX for edge cases, IT security for authentication and privacy, and operations for three environments. That is five
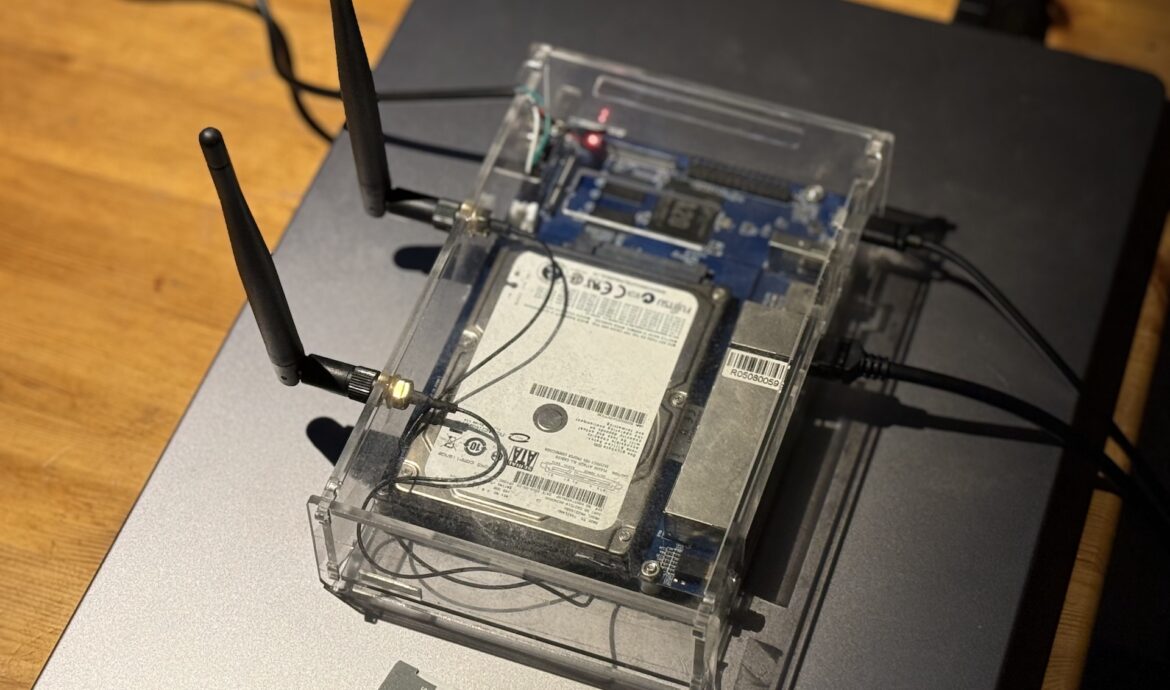
Running gokrazy on a Banana Pi BPI-R1
CLI . Go . Hacking . TestingMotivation I had a BPI-R1 sitting in a drawer. The board is from 2014 — only ancient OpenWrt and outdated Armbian images exist for it. Nobody maintains this platform anymore. The hardware is fine though: dual-core Allwinner A20, 1GB RAM, SATA, and a BCM53125 5-port Gigabit switch on the board. Not bad for a dedicated

T-shaped Skillsets – why the most valuable people don’t fit into a box
PersonalI never wanted to lock myself into just one area. Not because depth doesn’t matter to me – but because I’ve always been interested in topics beyond my core field. A while ago, I came across the term T-shaped. And I immediately felt: that describes it exactly. Most job postings still read like shopping lists: five

Those Who Ask Questions Drive Quality
PersonalI work with a colleague who finds something in almost every code review or text proofread. Almost every time. At first, that was exhausting – not because the remarks were wrong, but because they cost time. Time I hadn’t planned for. In hindsight, that was exactly the point. Many of the detailed improvements turned out

Democracy Requires Attention – Which We’ve Long Since Sold.
Personal8 seconds. That’s supposedly the average human attention span today – shorter than that of a goldfish. The number is largely made up. That the attention span has noticeably decreased, less so. This has direct consequences for democracy. Democracy is not a passive state – it requires that people weigh complex issues, evaluate sources, tolerate contradicting

Prompt Engineering Is Dead. Long Live Context Engineering.
PersonalI stopped optimizing my prompts. Not because it doesn’t work – but because it’s the wrong question. The right question is: What’s in the context when the agent starts working? The Problem with Long Conversations Anyone who works regularly with LLMs knows the pattern: at the beginning of a chat, everything runs smoothly. After twenty,

Why Writing Still Matters – And Is Becoming More Important
Personal“I’ll just have an LLM generate that real quick.” I hear this sentence daily by now. And I get it – I use AI myself, have code generated, run my own [[02-Projekte/OpenClaw/Übersicht|OpenClaw]] node, have images generated. That’s not the problem. The problem is what gets lost in the process. Writing Is Thinking – Not Just

Philosophical Exchange with an AI – Part 1
PersonalIn this series, I want to test an approach to discussing philosophical and social topics with an AI. My goal is not only to reflect on big questions, but also to use AI to find facts that can either support or challenge my own ideas and observations. This post is part 1 of an ongoing
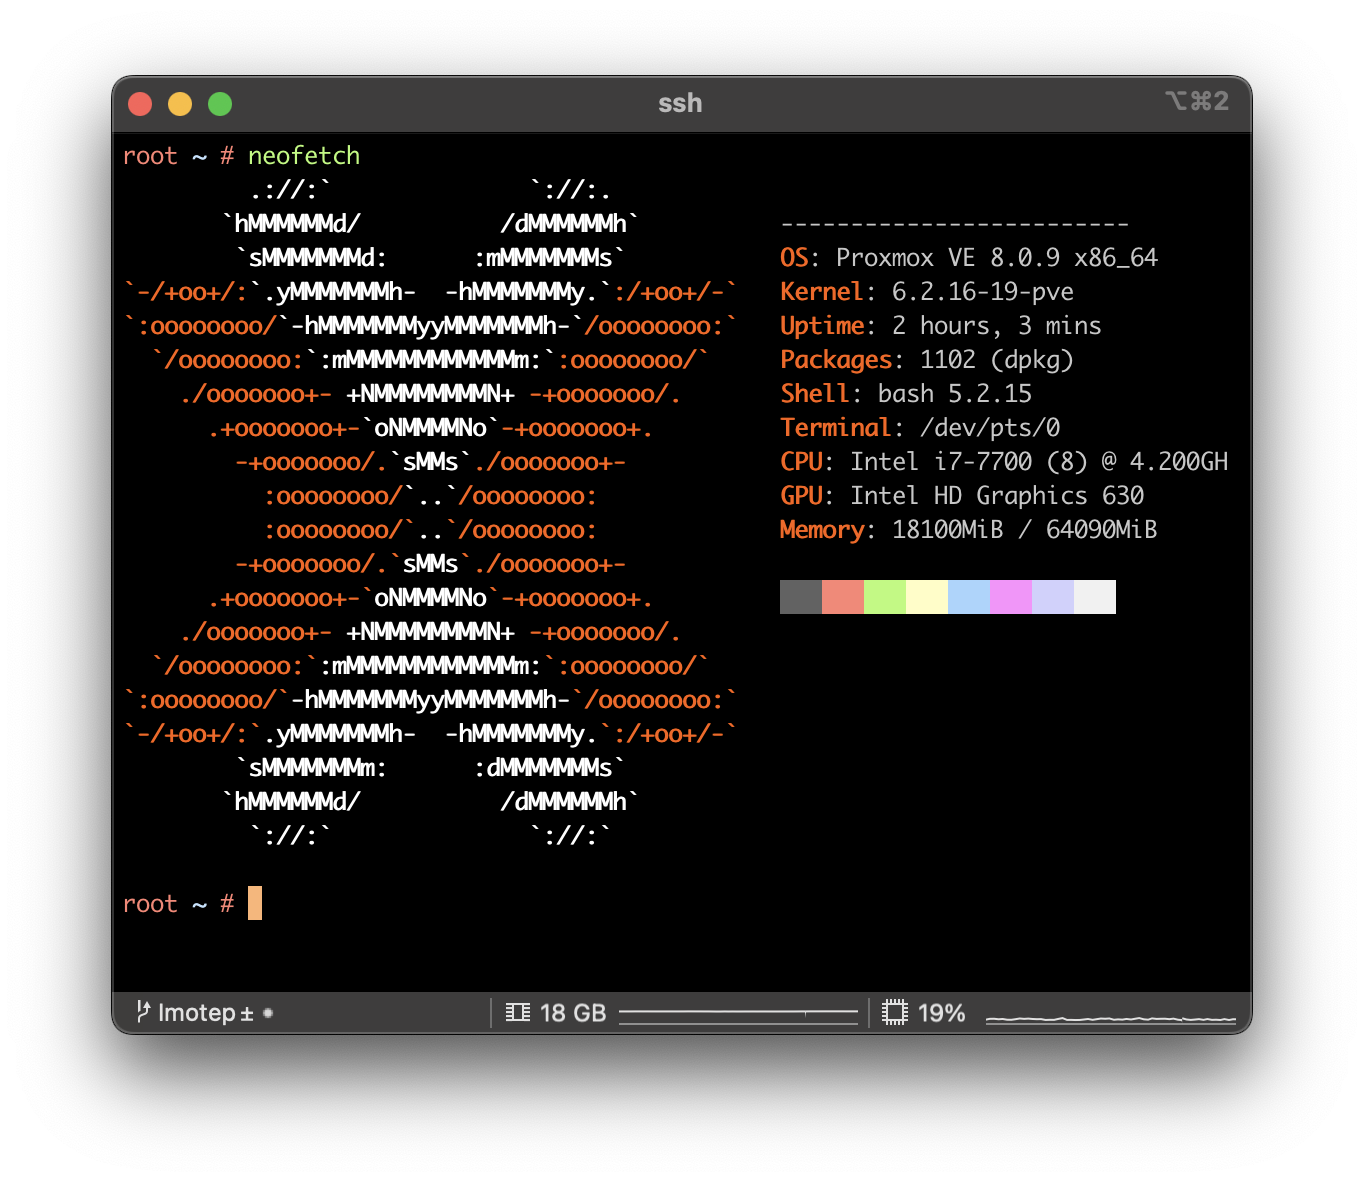
Fixing Issues after upgrading Proxmox 7 to 8
CLI . Network . ProxmoxMy initial plan was to update all of my Proxmox nodes to the latest version by the end of this year. While most updates proceeded smoothly, I encountered two errors on one particular node. Given that updating servers is a critical operation, especially when they are only remotely accessible via the network, I decided to

Fixing Error “failed, reason: getaddrinfo EAI_AGAIN” in Gitlab Builds
Build . Gitlab . TechSome days ago, I detected some new errors in one of our builds pipelines. The interesting part is, that there were no changes done, that might have caused this error.One example for this error was an DNS resolution error using npm: After some digging, I found out, that the only update might have come with