
Create CSV Reports from GIT Repositories containing your commits
ToolingSome months ago, I got the need to run over several GIT Repositories and collect the work I did on each day. The play was to gather all the data and collect them in different CSV files.Since I wasn’t able to find a ready script for this task, I guess it is a good candidate

Teaching Mailcow how to deal with Ham/Spam
ToolingThe good must be put in the dish, the bad you may eat if you wish. Cinderella Mailcow is a groupware solutions, that is mainly used for email messaging. With Mailcow, you can setup your own Docker-based Mail-Server + Addons. Mailcow uses rspamd to filter out Spam Messages.However, after some time, there is a need to fine-tune the Spam

Using the MacOS airport utility
ToolingUsing the MacOS airport utility. Sometimes you need to gather information abouth your current WiFi Connection of you Mac via CLI only (maybe you just have a remote SSH Connection to do so). With the airport tool, there is a handy utility to perform most of the tasks, that you would normally do via the UI. You

Einführung die Balena Cloud (german)
PersonalProject 364, year 2023, day2 can be found at https://entwickler-gilde.de Follow this link: https://entwickler-gilde.de/2023/01/02/einfuehrung-in-die-balena-cloud/
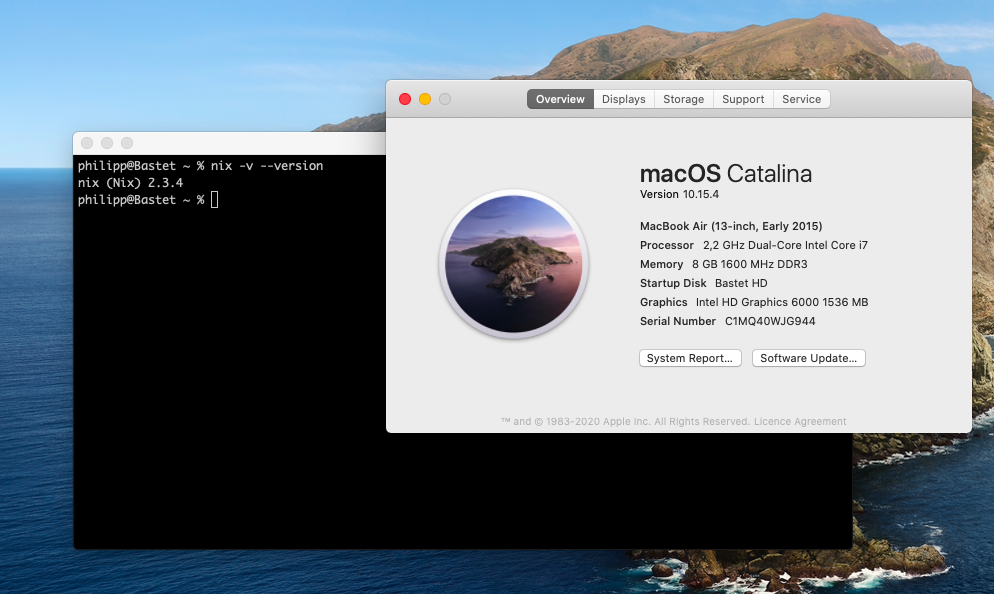
Fixing nix Setup on MacOS Catalina
Bash . CLI . Mac . PersonalWith MacOS Catalina (10.15), Apple decided to decrease the possibilities of system users to install software applications within the system. That means, that it is not possible anymore to install software at specific location in your system, since most system folder ware mounted read-only at boot to improve the overall system security. That leads to

How to disable the www-data user to send emails with postfix
Security . ToolingSometimes an insecure configuration allows spammer to use the www-data user to send emails with you postfix server. Normally this is the case, when you get a bunch of error email from your mailserver, that some emails from www-data@hostname.tld could not be delivered. To be sure, that this situation cannot exist, you can add the

20min Handson ZFS
Tech . Tooling . ZFSZFS is often called the last word in file systems. It is a new approach to deal with large pools of disks originally invented by Sun. It was later then ported to FreeBSD, MacOS (only 10.5) and Linux. This text should show some of the basic feature of ZFS and demonstrate them handson by example.

solving Security Error while starting Java WebStart (e.g. IPMI Remote)
Mac . Security . ToolingMost of the IPMI Systems out there still using good old Java based Remote Applications to connect to the remote console. Sine Java 8 update 111, the MD5 singing algorithm was marked as insecure (aka disabled) by Oracale (see Relase Notes for that Release ” Restrict JARs signed with weak algorithms and keys”). You will
Find a Class in a bunch of JAR Files
Coderwallfor j in *.jar; do echo $j:; jar -tvf “$j” | grep -Hsi ClassName; done Iterate over every jar in your folder. Output every JAR Name (to match found classes to JARs lateron) List Content of every JAR ( jar -tvf “$j” ) Grep for that specific ClassName grep -Hsi ClassName Original Post: https://coderwall.com/p/7d-mta/find-a-class-in-a-bunch-of-jar-files
SSH Tunnel RDP Session over another Host
CoderwallLet’s say you want to tunnel an RDP connection via SSH.User: phausSSH-Server: ssh.example.comRDP-Server: win2k8.example.com You need to run that script and keep your session open.You can then access the remote System with a RDP Client over localhost 13389. Original Post: https://coderwall.com/p/wzvxhg/ssh-tunnel-rdp-session-over-another-host