
Creating a SmartOS Dataset for Windows Server 2012 r2
SmartOS . VirtualisierungI postet about SmartOS almost 1 1/2 Year ago. Since i am still using SmartOS here and then for primary testing purpose, i decided to create a new Post about how to make your own Datasets, to make several VMs based on the same Image possible. As Microsoft also introduces their latest Server OS (Windows Server 2012 r2) as a Preview Version, i choosed this OS for the Test, since i guess besides SmartOS itself and Linux, which has already a lot of Dataset present, Windows might be the next common OS to use in a VM.
Prerequisites
You should already have these Software Packages:
- SmartOS Download
- http://wiki.smartos.org/display/DOC/Download+SmartOS
- Windows Server 2012 R2 Preview
- http://technet.microsoft.com/de-DE/evalcenter/dn205287.aspx you should rename the ISO e.g. to win2k12r2_de.iso
- TightVNC Java Viewer JAR
- http://www.tightvnc.com/download.php
You should have SmartOS installed on a proper Hardware (at least > 50GB Disk and proper KVM support – this means a recent Intel CPU and working VT-x/EPT). I am using VMWare Fusion 5 for this, since there is a specific Setting for supporting VM internal Virtualization.
The Setup of SmartOS is pretty straigh forward. You can have a short description here [1].
In this tutorial i will choose [client] when you have to run the command on your Workstation and [smartos] when you should run it on your SmartOS Host (e.g. via SSH).
SmartOS Configuration
You should check the current Host Configuration of you SmartOS System first. The CLI Tools for this are sometimes different than e.g. in Linux [2].
First you need to find your Host Network Gateway (here 172.16.108.2)
[smartos] /usr/bin/netstat -r
Routing Table: IPv4
  Destination           Gateway           Flags  Ref     Use     Interface
-------------------- -------------------- ----- ----- ---------- ---------
default              172.16.108.2         UG        3        443 e1000g0
localhost            localhost            UH        2        310 lo0
172.16.108.0         00-50-56-28-a8-14    U         5    1694314 e1000g0

Routing Table: IPv6
  Destination/Mask            Gateway                   Flags Ref   Use    If
--------------------------- --------------------------- ----- --- ------- -----
localhost                   localhost                   UH      2      12 lo0
[smartos] /usr/bin/sysinfo -p
Live_Image='20130629T040542Z'
System_Type='SunOS'
Boot_Time='1375215743'
Manufacturer='VMware, Inc.'
Product='VMware Virtual Platform'
Serial_Number='VMware-56 4d 56 5e e8 ff 08 7b-38 81 e6 57 ac d8 b9 7d'
VM_Capable='true'
CPU_Type='Unknown'
CPU_Virtualization='vmx'
CPU_Physical_Cores=4
Nic_Tags=admin
Setup=''
UUID='564d565e-e8ff-087b-3881-e657acd8b97d'
Hostname='00-50-56-28-a8-14'
CPU_Total_Cores=4
MiB_of_Memory=8191
Disk_c1t0d0_size_in_GB=268
Disk_c1t1d0_size_in_GB=268
NIC_admin='e1000g0'
Network_Interface_e1000g0_MAC_Address='00:50:56:28:a8:14'
Network_Interface_e1000g0_IPv4_Address='172.16.108.135'
Network_Interface_e1000g0_NIC_Names='admin'
Network_Interface_e1000g0_Link_Status='up'
Network_Interface_e1000g1_MAC_Address='00:50:56:21:c3:ec'
Network_Interface_e1000g1_IPv4_Address=''
Network_Interface_e1000g1_NIC_Names=''
Network_Interface_e1000g1_Link_Status='up'
Bootparam_console='text'
Bootparam_root_shadow='$5$2HOHRnK3$NvLlm.1KQBbB0WjoP7xcIwGnllhzp2HnT.mDO7DpxYA'
Bootparam_smartos='true'
[smartos] /usr/sbin/dladm show-link
LINK        CLASS     MTU    STATE    BRIDGE     OVER
e1000g0     phys      1500   up       vmwarebr   --
e1000g1     phys      1500   up       --         --
vmwarebr0   bridge    1500   up       --         e1000g0
VM Setup
VM Configuration
[smartos] /usr/bin/cat /opt/win2k12r2_vm.json
{
  "brand": "kvm",
  "alias": "win2k12r2",
  "vcpus": 2,
  "autoboot": false,
  "ram": 2048,
  "resolvers": ["8.8.8.8"],
  "disks": [
    {
       "boot": true,
       "model": "ide",
      "size": 40960
    }
  ],
  "nics": [
    {
      "nic_tag": "admin",
      "model": "e1000",
      "ip": "172.16.108.201",
      "netmask": "255.255.255.0",
      "gateway": "172.16.108.2",
      "primary": 1
    }
  ]
}
Your main Tool for VM Administration ist vmadm [3].
[smartos] /usr/sbin/vmadm create -f /opt/win2k12r2_vm.json
Successfully created VM 37d3cef6-01a6-4b25-a927-928cc2681744
[smartos] /usr/sbin/vmadm list
UUID                                  TYPE  RAM      STATE             ALIAS
37d3cef6-01a6-4b25-a927-928cc2681744  KVM   2048     stopped           win2k12r2
[smartos] /usr/sbin/zfs list
NAME                                               USED  AVAIL  REFER  MOUNTPOINT
zones                                             52,3G   192G   652K  /zones
zones/37d3cef6-01a6-4b25-a927-928cc2681744        39,5K  10,0G  39,5K  /zones/37d3cef6-01a6-4b25-a927-928cc2681744
zones/37d3cef6-01a6-4b25-a927-928cc2681744-disk0    40G   232G    16K  -
zones/config                                        41K   192G    41K  legacy
zones/cores                                         62K  10,0G    31K  /zones/global/cores
zones/cores/37d3cef6-01a6-4b25-a927-928cc2681744    31K  10,0G    31K  /zones/37d3cef6-01a6-4b25-a927-928cc2681744/cores
zones/dump                                        4,00G   192G  4,00G  -
zones/opt                                         31,5K   192G  31,5K  legacy
zones/swap                                        8,25G   200G    16K  -
zones/usbkey                                       127K   192G   127K  legacy
zones/var                                         2,08M   192G  2,08M  legacy
You need to copy the installation ISO Image into your VM Zone:
[client] scp win2k12r2_de.iso root@172.16.108.135:/zones/37d3cef6-01a6-4b25-a927-928cc2681744/root/
After that you can boot your VM with the ISO Image attached:
[smartos] /usr/sbin/vmadm boot 37d3cef6-01a6-4b25-a927-928cc2681744 order=cd,once=d cdrom=/win2k12r2_de.iso,ide
Successfully started VM 37d3cef6-01a6-4b25-a927-928cc2681744
You can access your VM via a VNC Viewer (we are using TightVNC). You can get the necessary connection setting via:
[smartos] /usr/sbin/vmadm info 37d3cef6-01a6-4b25-a927-928cc2681744 vnc
{
  "vnc": {
    "host": "172.16.108.135",
    "port": 34783,
    "display": 28883
  }
}
You can now extract the TightVNC Zip you downloaded before. Withing the folder classes you type:
[client] java VncViewer HOST 172.16.108.135 PORT 34783
The Port and the Host URL may differ. The Port will change everytime your VM reboots.
Setup

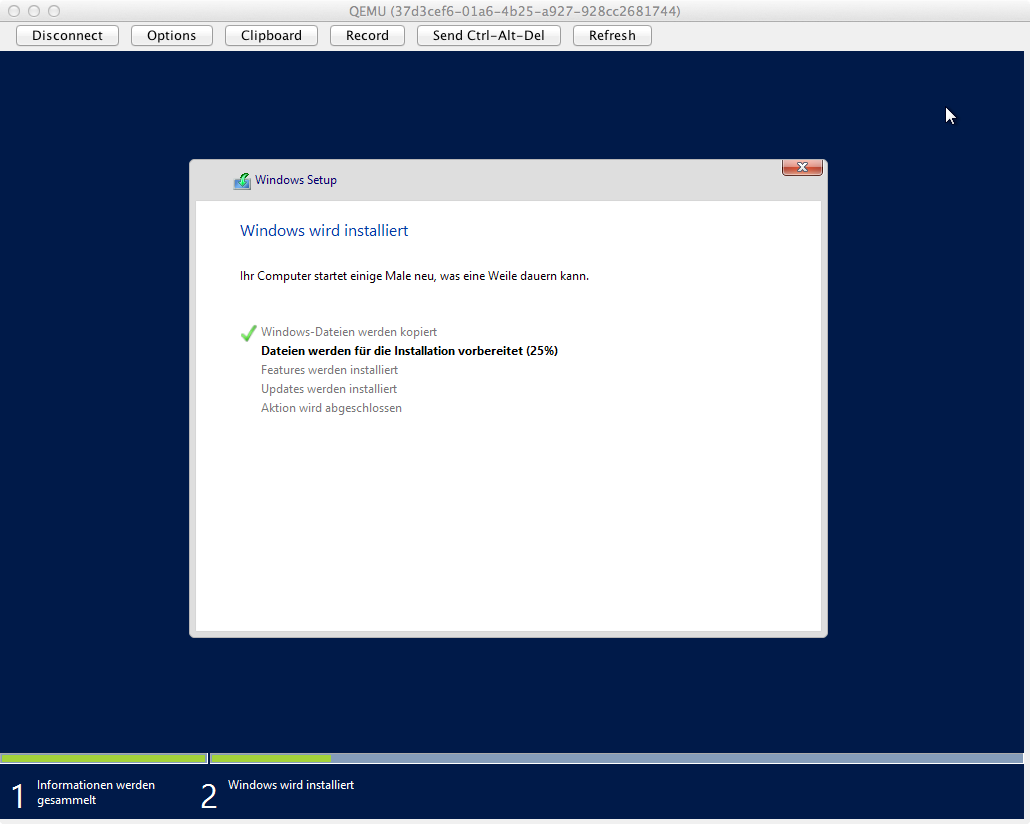
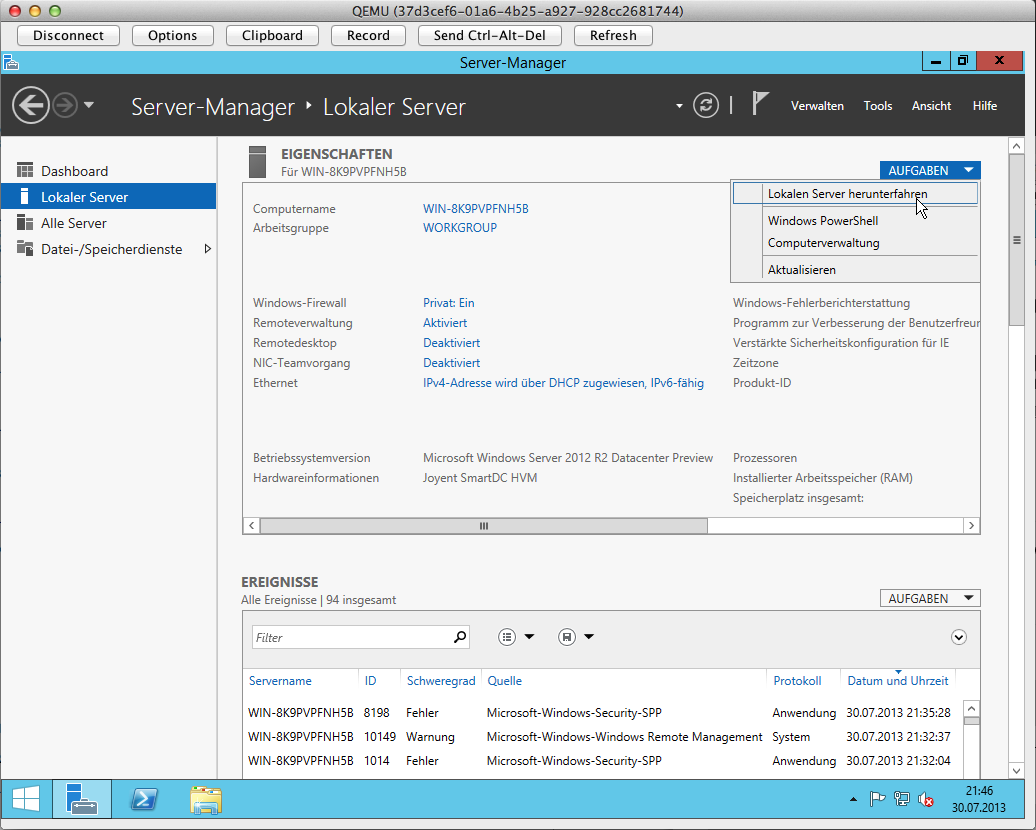
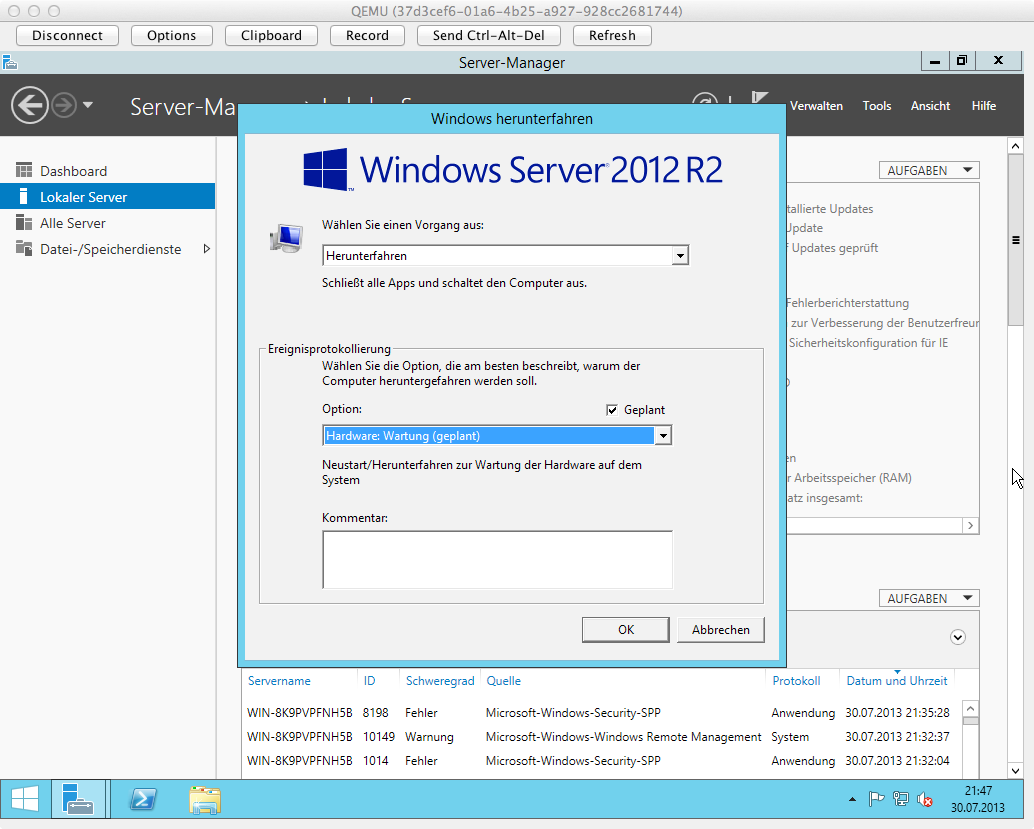
Running System
After a Reboot, the Login Screen greets us:
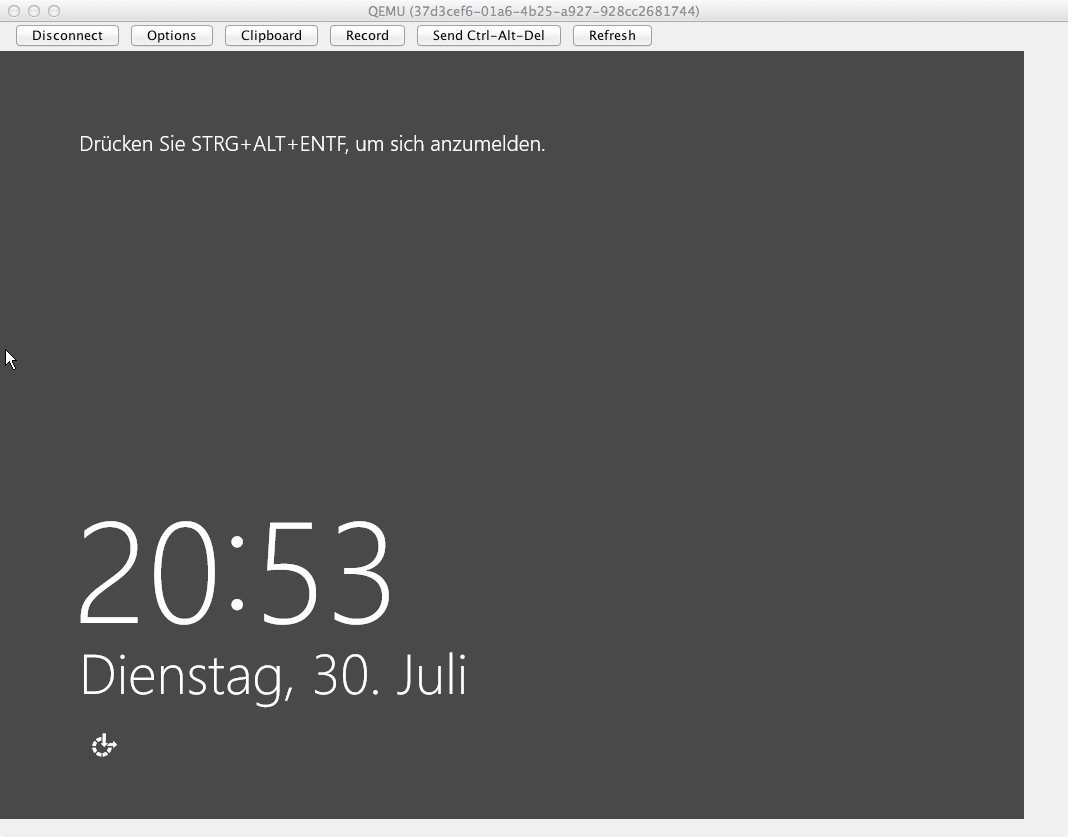
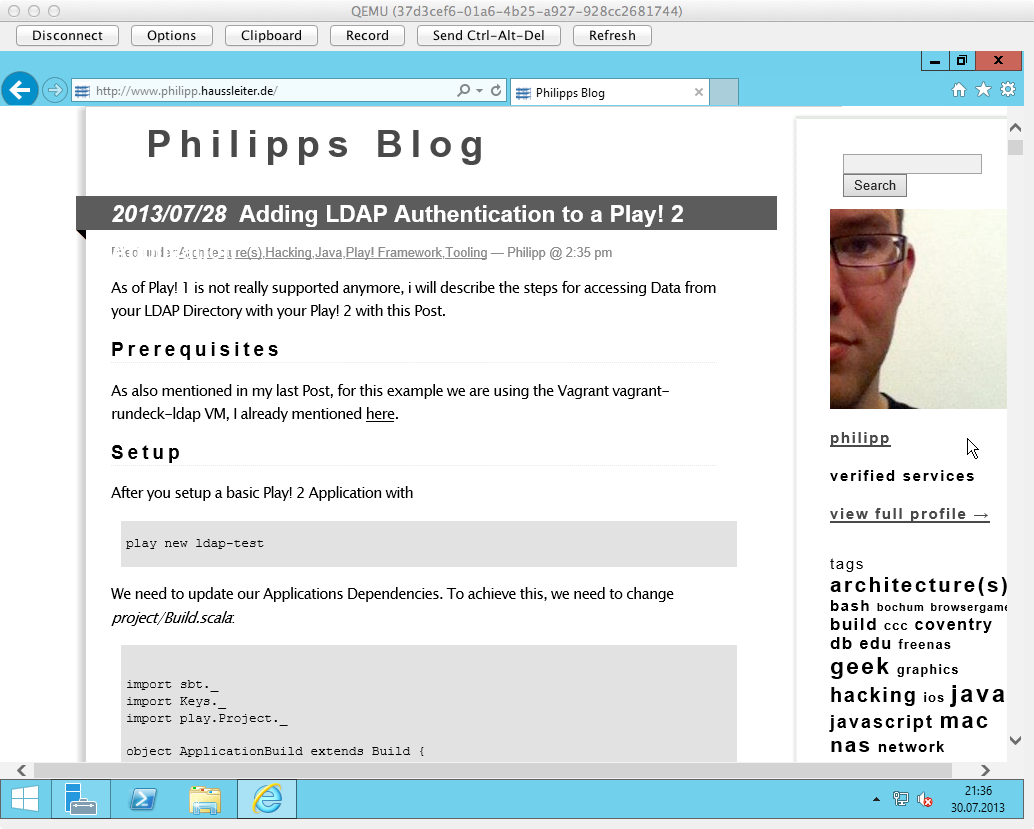
The Network also seems to work :-).
Dataset Creation
We can now start to create our VM Package. For that we need to shutdown our VM:
[smartos] /usr/sbin/vmadm list
UUID                                  TYPE  RAM      STATE             ALIAS
37d3cef6-01a6-4b25-a927-928cc2681744  KVM   2048     stopped           win2k12r2
The first step is to create a ZFS Snapshot of that specific VM Disk:
So let’s have a look:
[smartos] /usr/sbin/zfs list
NAME                                               USED  AVAIL  REFER  MOUNTPOINT
zones                                             52,3G   192G   652K  /zones
zones/37d3cef6-01a6-4b25-a927-928cc2681744        39,5K  10,0G  39,5K  /zones/37d3cef6-01a6-4b25-a927-928cc2681744
zones/37d3cef6-01a6-4b25-a927-928cc2681744-disk0    40G   232G    16K  -
zones/config                                        41K   192G    41K  legacy
zones/cores                                         62K  10,0G    31K  /zones/global/cores
zones/cores/37d3cef6-01a6-4b25-a927-928cc2681744    31K  10,0G    31K  /zones/37d3cef6-01a6-4b25-a927-928cc2681744/cores
zones/dump                                        4,00G   192G  4,00G  -
zones/opt                                         31,5K   192G  31,5K  legacy
zones/swap                                        8,25G   200G    16K  -
zones/usbkey                                       127K   192G   127K  legacy
zones/var                                         2,08M   192G  2,08M  legacy
It seems, that our disk is zones/37d3cef6-01a6-4b25-a927-928cc2681744-disk0 a zvol.
[smartos] /usr/sbin/zfs snapshot zones/37d3cef6-01a6-4b25-a927-928cc2681744-disk0@dataset
Let’s look for the Snapshot:
[smartos] /usr/sbin/zfs list -t snapshot
NAME                                                       USED  AVAIL  REFER  MOUNTPOINT
zones/37d3cef6-01a6-4b25-a927-928cc2681744-disk0@dataset      0      -  7,36G  -
There it is. Now we need to compress it, since this will be our vanilla Image.
[smartos] /usr/sbin/zfs send zones/37d3cef6-01a6-4b25-a927-928cc2681744-disk0@dataset | /usr/bin/gzip > /tmp/win2k12r2_de.zvol.gz
Wait…
Now we only need size and the SHA1 Checksum of that Image for the Manifest file.
[smartos] /usr/bin/digest -a sha1 win2k12r2_de.zvol.gz
Wait…
0d955b91973bdaccc30ffa75b856709ce9a1953a
[smartos] /usr/bin/ls /tmp
...
-rw-r--r--   1 root     root     3933399939 Jul 30 22:20 win2k12r2_de.zvol.gz
...
So our matching Dataset Manifest File might look like this:
[smartos] /usr/bin/cat /tmp/win2k12r2_vm.json
{
    "name": "win2k12r2de",
    "version": "1.0",
    "type": "zvol",
    "cpu_type": "host",
    "description": "Windows Server 2012 R2 Preview DE",
    "created_at": "2013-07-31T11:40:00.000Z",
    "updated_at": "2013-07-31T11:40:00.000Z",
    "published_at": "2013-07-31T11:40:00.000Z",
    "os": "windows",
    "image_size": "40960",
    "files": [
        {
            "path": "win2k12r2_de.zvol.gz",
            "sha1": "0d955b91973bdaccc30ffa75b856709ce9a1953a",
            "size": 3933399939
        }
    ],
    "requirements": {
        "networks": [
            {
                "name": "net0",
                "description": "public"
            }
        ]
    },
    "disk_driver": "ide",
    "nic_driver": "e1000",
    "uuid": "857ea9a0-f965-11e2-b778-0800200c9a66",
    "creator_uuid": "0e70a5a1-0115-4a2b-b260-94723fd31bf1",
    "vendor_uuid": "0e70a5a1-0115-4a2b-b260-94723fd31bf1",
    "owner_uuid": "0e70a5a1-0115-4a2b-b260-94723fd31bf1",
    "creator_name": "Philipp Haussleiter",
    "platform_type": "smartos",
    "urn": "smartos:phaus:win2k12r2de:1.0"
}
You can now install the new Dataset to your local Image Store:
[smartos] /usr/sbin/imgadm install -m /tmp/win2k12r2_de.json -f /tmp/win2k12r2_de.zvol.gz
Installing image 857ea9a0-f965-11e2-b778-0800200c9a66 (win2k12r2de 1.0)
857ea9a0-f965-11e2-b778-0800200c9a66      [==============================>                 ]  19% 727.97MB  11.39MB/s  4m25s
…
Installed image 857ea9a0-f965-11e2-b778-0800200c9a66 to "zones/857ea9a0-f965-11e2-b778-0800200c9a66".
Wait…
[smartos] /usr/sbin/imgadm list
UUID                                  NAME         VERSION  OS       PUBLISHED
…
857ea9a0-f965-11e2-b778-0800200c9a66  win2k12r2de  1.0      windows  2013-07-31T11:40:00Z
…
You can now using this image as a normal SmartOS Dataset with the UUID 857ea9a0-f965-11e2-b778-0800200c9a66.
Feel free to comment if you have questions or problems.
Links
- [1] SmartOS – Basic Setup
- http://blog.smartcore.net.au/smartos-the-basics/
- [2] The Linux-to-SmartOS Cheat Sheet
- http://wiki.smartos.org/display/DOC/The+Linux-to-SmartOS+Cheat+Sheet
- [3] Using vmadm to manage virtual machines
- http://wiki.smartos.org/display/DOC/Using+vmadm+to+manage+virtual+machines
- [4] Some extra Configuration Options for SmartOS
- http://wiki.smartos.org/display/DOC/extra+configuration+options
- [5] How to create a SmartOS Dataset
- http://www.nickebo.net/creating-smartos-datasets
Since i got some Mails about it, a proper VM File for creating a VM with that Image would be like this:
What is wrong with using virtio instead of e1000 and ide?
Hello Hans. Nothing wrong about. At that time i did not know about the driver CD for all the virtio devices. Since then i found another great blog post ( http://ispire.me/how-to-create-smartos-windows-vm/ ) that explains exactly how you can create your own driver CD and use it with your SmartOS VM.
Any idea how to measure the quality of the disk I/O and suggestions about what to about slow disk I/O performance?
Running 8 GB virtual win2012(trial) machine with 40GB diskimage on a recent I7 with 32Gb and two WD Red 2TB disks(mirrored) with 30GB Kingston as cache disk
That might have several reasons. First of all is just the VM slow or the whole system?
The best Post about VM Performance i found here http://dtrace.org/blogs/brendan/2013/01/11/virtualization-performance-zones-kvm-xen/
DTrace is a valuable tool for identifying bottlenecks. A nice intro is here https://blogs.oracle.com/BestPerf/entry/i_o_analysis_using_dtrace although DTrace needs some time for getting into it.
If you are using the 30GB (SSD? ) as an ARC you may also try arcstat https://github.com/mharsch/arcstat
Indeed a 30GB Kingston SSD I picked up as a bargain a while ago. Thanks for the links for measuring.
Using:
– a Joyent zone as Samba FileServer with Crashplan as backup software.
– a Joyent zone for Project Fifo as management interface
Has been running for a month.
Yesterday installed my first KVM zone. Only noticed it was a bit slow when running windows update.
Going to do some measurements after the image is provisioned from the dataset I just created from the clean install plus latest patches.
dump question: you installed all necessary virt io drivers? I never had a running KVM instance running for a long time. Always stayed with Zones. But i guess since KVM is normally not that slow there must be an issue somewhere…
I installed both the virtio network and virtio disk driver. The problem very likely is elsewhere. Dedup was still turned on at zones.
Going to turn that of after a scrub.
Turned dedup off. And I ran into a Project-Fifo bug or I did something stupid. The dataset generated had no related snapshot ;(. So installing windows 2012 again.
uhh… that sounds not good. I always had troubles with dedup… alway had to less memory for that. What kind of Bug in FiFo did you detect? I just found one myself, while playing araound with the AMD SmartOS Flavor…